Welcome to shades of BOLD ! If it is your first time here, I hope you stick around awhile and peruse my posts. I'm Marilyn and sewing is my passion. My blog is about all things handmade but particularly about sewing those addicting handbags!
Speaking of handbags, I was invited to join a bag tour by Sarah of Cozy Nest Designs and the time has finally arrived to share this amazing bag with you. Sarah is offering this pattern for 25% off until Aug. 2, 2014. Just go here and enter the code bagtour for your discount. And look for the giveaways on all the blogs everyday! Keep reading to find the one here.
Now onto the bag..... How did Sarah ever figure this one out??? You make one bag and voila...you actually get four bags. All it takes is some tucking in, reversing and tucking in again. It is hard to explain but really not that difficult to make. My words of advice are:
- Don't read ahead.
- Stay in the moment and just sew step by step
- It's magic ....out comes four bags in one!
When choosing your fabric you have so many options. You can use contrasting colors, one side casual, one side dressy, etc. My fabric selections were inspired by the Fourth of July holiday as I was making this bag near then.
Let's look at each of the bags to see what you get.
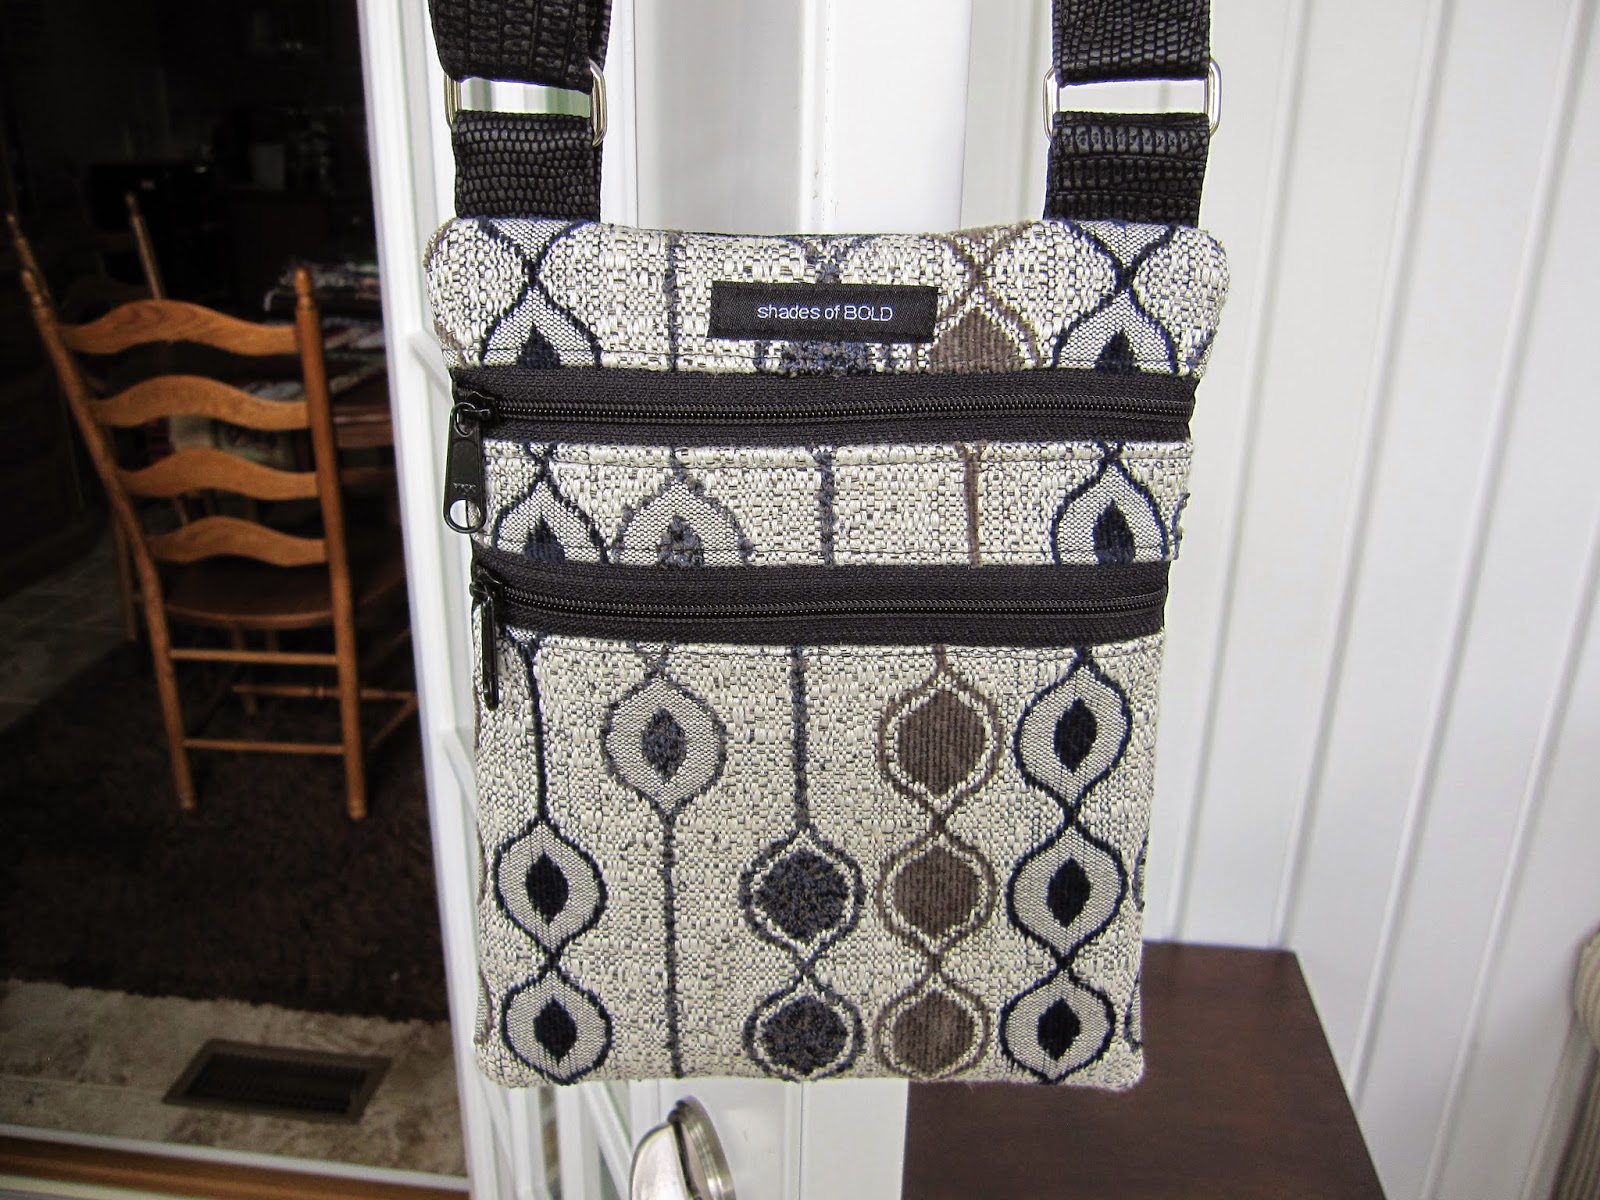
Here is the first bag. It measures 9"wide, 11" high and 2 1/2" deep. This is a crossbody bag with an adjustible strap. Now if I just remove the strap, tuck the top of the bag down into the bottom, pull the bottom flap up and reattach the strap to the D rings hidden under the flap, I have this bag....
This is my favorite. It measures 9" wide by 5 1/2" high and 2 1/2" deep. It zips at the top. Now if I remove the strap again and turn the bag inside out all of the way, I get this bag...
What was the lining of my first bag becomes the second full sized bag the same size at the first. I have attached the second adjustible strap in that matching color. I have also glued a button on a magnetic closure to fit inside the magnetic closure, that would be showing, to decorate it. Sarah also gives a tutorial to make covers for these snaps. If I remove the straps again and fold this bag down into itself, I get the fourth bag, a clutch.
That's it. Four bags in one! Glad I only had to sew it and not design it!!!! (Thank you Sarah)
Sarah's pattern was easy to follow. I have never followed a pattern like this with hyperlinks to these great tutorials to give you even more direction. There are also instructions to make a vinyl insert to keep the inside (which becomes the outside of another bag) clean and to make it easy to switch bags. She also includes directions to make it out of laminated fabrics. Since the pieces can get a little confusing, she has tags that you can print to put on the pieces so you know what they are. What is really cool about this is that they are sized to print on computer labels so that all you have to do is print, peel and stick. Great idea!
(I received a free pattern for participating in this bag tour but the opinions expressed here are mine.)
Here is the schedule of the other bloggers who will participate and the links to their sites. Visit them all for the most chances to win. There is a giveaway for each blog here.
Monday, July 28th
Maria of Mia's Creations
Niki Stringer of Roonie Ranching
Alyssa Carrion at Keep Calm & Carrion
Tuesday, July 29th
Lynn Potts of PottsCrafty
Marilyn Brandt at Shades of Bold
Wednesday, July 30th
Vicky Myers of Vicky Myers Creations
Liz Schaffner at Moments
Sarah at Cozy Nest Design
Thursday, July 31st
Amy Macdonald with Friends Stitched Together
Kathy from Handmade Dress Haven
Judith Clauss of Judith Stitches and More
Friday, August 1st
Jonie Brooks with Knot Sew Normal
Lorena Rey of my way of...
Bethany Rapp with Sweet Bee Buzzings
http://www.rafflecopter.com/rafl/display/dd7070507/" rel="nofollow">a Rafflecopter giveaway


